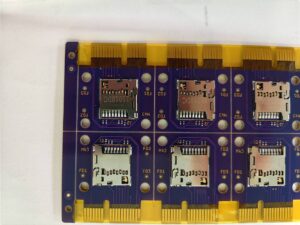
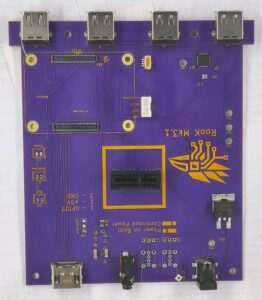
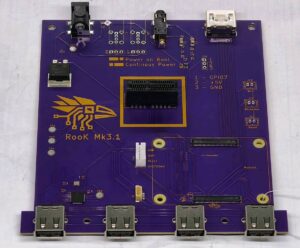
We are actively testing the current iteration of RooK – codename Mk3.1. Have a look at our Github repository for more technical details. What started as a minor enhancement escalated to a full-blown overhaul within a few weeks.
Once the Mk3 mainboards were shipped from the factory we planned a small retro gaming tournament. While we prepared that tournament we had one game in mind that might have hit the limits of our current computing platform, the CM4. So we tested running RooK Mk3 with a CM5. That worked almost flawlessly. CM5 needs active cooling and we didn’t plan for that. For the tournament we choose to run the cooler at full power. While that option was great for the tournament and allowed us to use the games we wanted, it is not viable for normal play scenarios. The fan was just too loud.
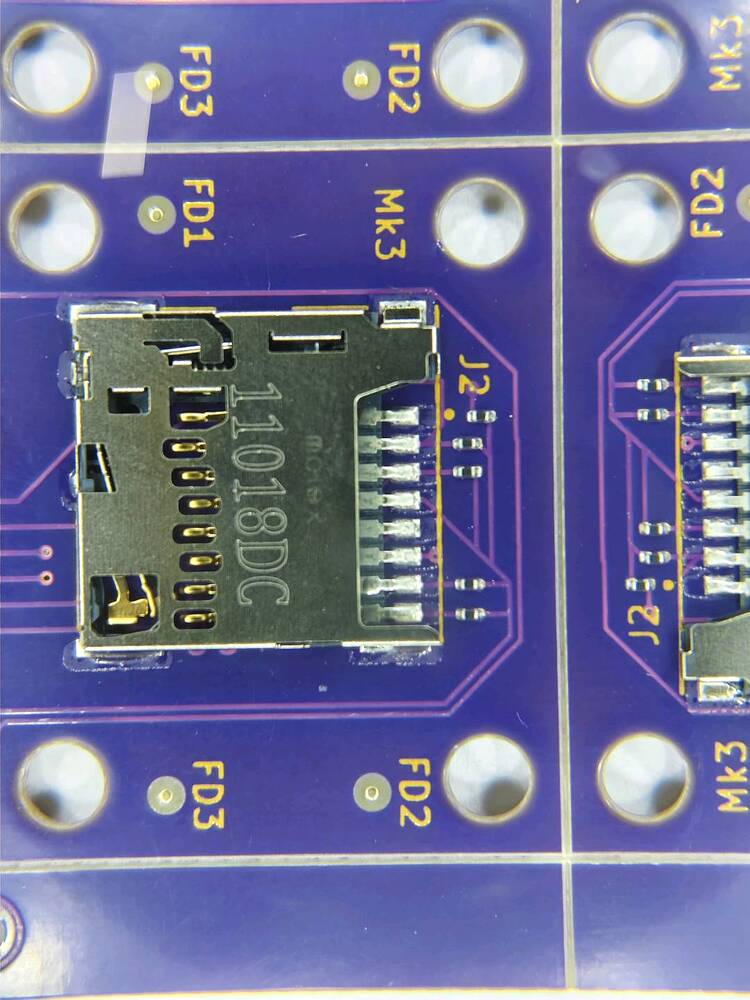
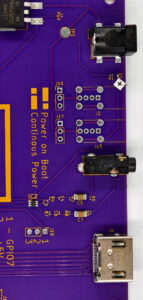
So we decided we need a minor iteration: get rid of the fallback circuits for not working cartridge slots (that problem was fixed) and add a fan header. For easier debugging, we also wanted to move the status LED to the back so it could be seen without opening the case.
Edge Cases
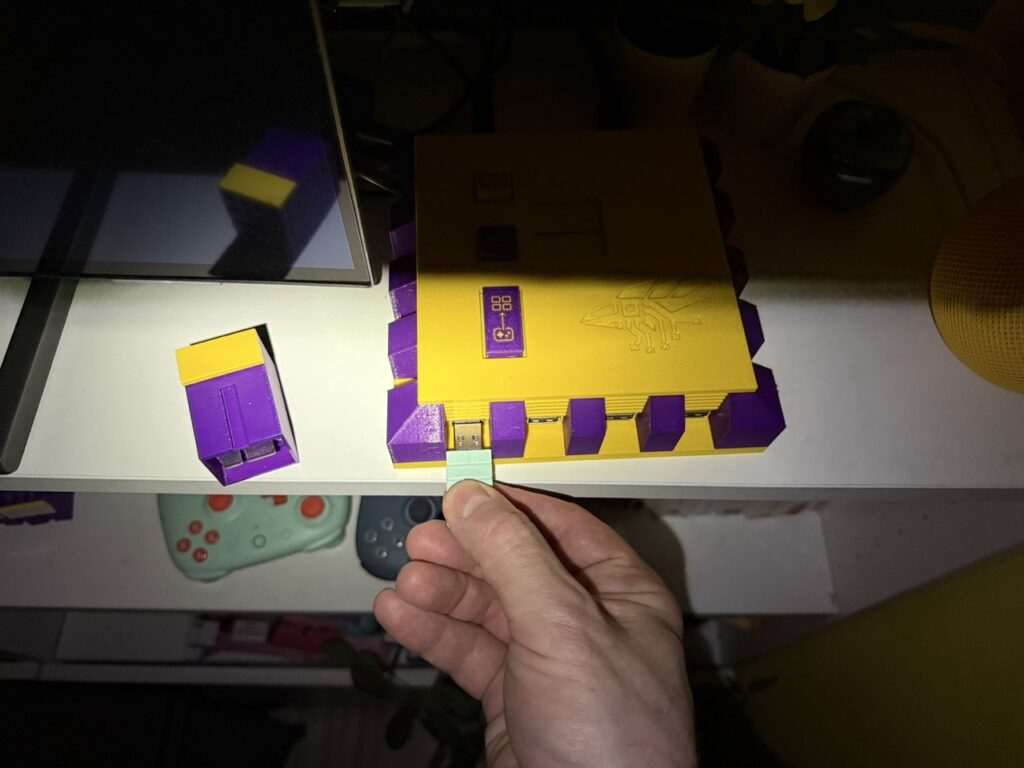
While the PCB was redesigned and ordered, the team does what it can best: re-iterate on the important things. We noticed, that wireless dongles for 8bitdo controllers were a few milimeters too wide. So we had to thin the pillars at the front.
Addition from 8BitDo dongle user Alex:
I have to admit, I felt REALLY guilty when I realized that the dongles didn’t fit between the columns — especially since so much care went into the symmetry and design, and the Mk3 of the RooK looked SO good.
But then I thought, if probably the most common controller dongles don’t fit, that would be annoying for (hopefully many) future users, so I brought it up again.
At first, we considered just relying on the Bluetooth function of the 8BitDo controllers, but the dongles are simply SO convenient — basically like an “air cable” 🙂 When they work via dongle with the Steam Deck or other devices, but you’d have to reconfigure them to Bluetooth mode just for the RooK, that would be quite a hassle. Especially since I have to google the manual every time I want to change ANYTHING on the 8BitDo — it happens so rarely! So yeah, it was important to me to shave off that half millimeter (0,02 inches) from the columns. More precisely, it was only about 0.25 mm (0,01 inch) per side 🙂
If you hold the Mk3 and Mk3.1 right next to each other, you can see the difference if you look closely—but without direct comparison, nobody will ever notice 🙂
Here’s another example: on the yellow Mk3 it doesn’t fit, but on the gray-green Mk3.1 the dongles slide in easily. 🙂
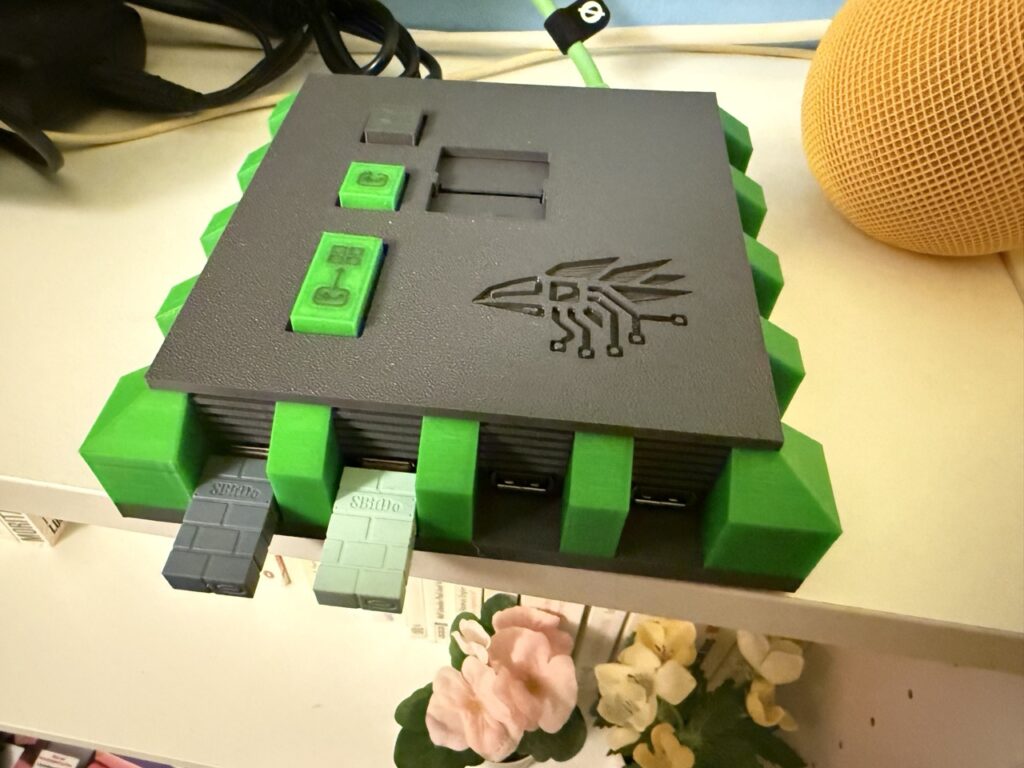
And while one could simply thin those 3 pillars, the aesthetics department jumped on board and re-iterated all pillars around the RooK case. We also tried adding pillars around the back but quickly tossed that idea.
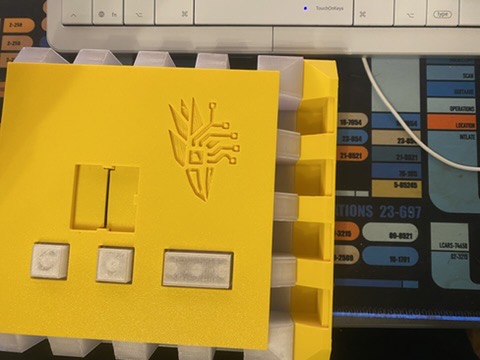
As we put the LED in the back, we knew we would have to redesign the back panel in a way that will make the LED visible. In the final iteration we voted for clear plastic and the RooK text logo.
So two thirds of the case main components were already redesigned at this point. And then Sebastian reiterated that we have to make cartridge insertion easier.
Cartridge slots are harder than we thought
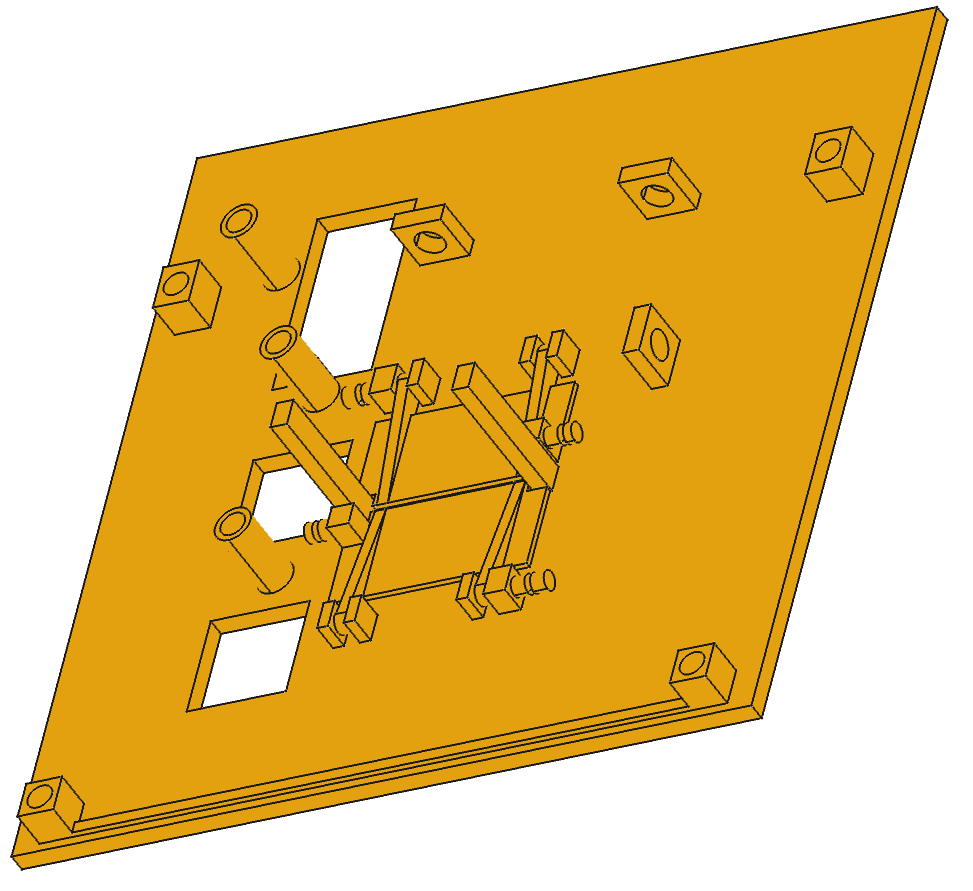
Here is the problem: we have two flaps that cover the cartridge slot. those are held in place by springs. When you try to insert a cartridge, you have to push the flaps out of the way. As those are hinged its hard to keep the cartridge from tipping. It was always a bit of a struggle to get the cartridge in correctly.
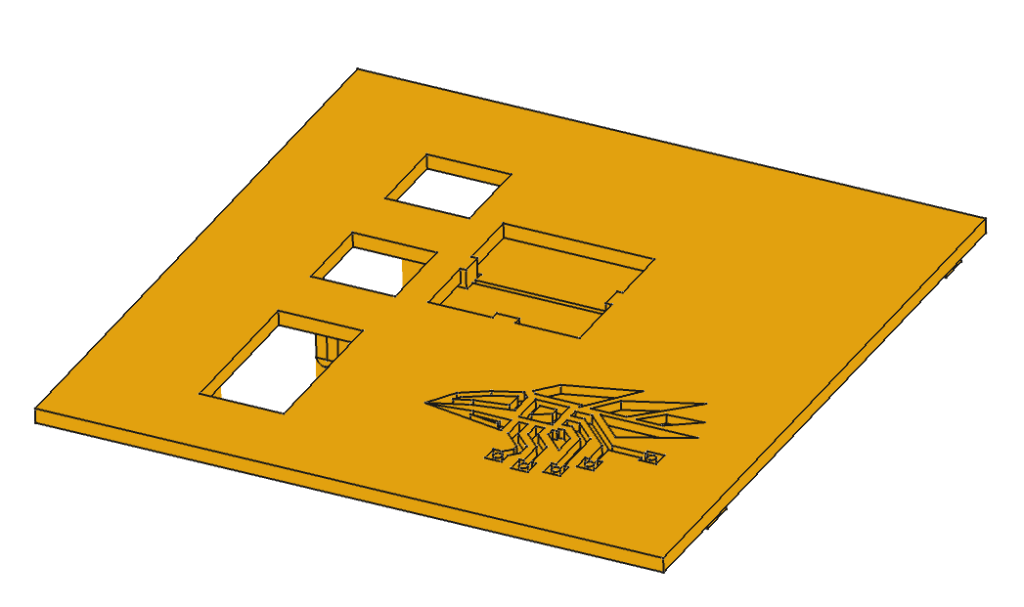
We discussed a few ideas, most of which weren’t feasible: they would increase complexity or would be hard to 3d-print. One option would work: adding rails to the left and the right (exactly where the two flaps meet). Of course that would mean adding notches to the cartridges. And the flaps would need cut-outs for the rails. Needless to say: we went ahead with this option.
After testing the new design on a Mk3 RooK it was clear that this option would be the winner. So more components joined the “redesigned for a minor update” team.
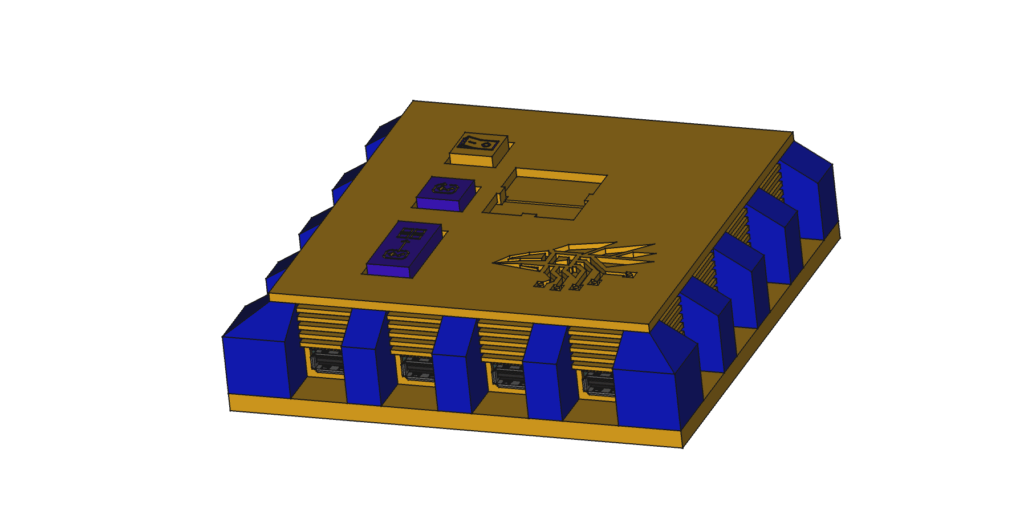
Once we started buiding Mk3.1, only the keys were not redesigned from the 3d-printed parts. The case itself is a complete overhaul. We are proud of the resulting console and for now it holds up quite well within the team.