Blog

  • RooK One – the first official Tournament

    RooK One – the first official Tournament

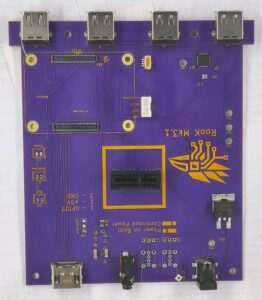
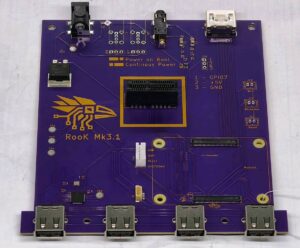
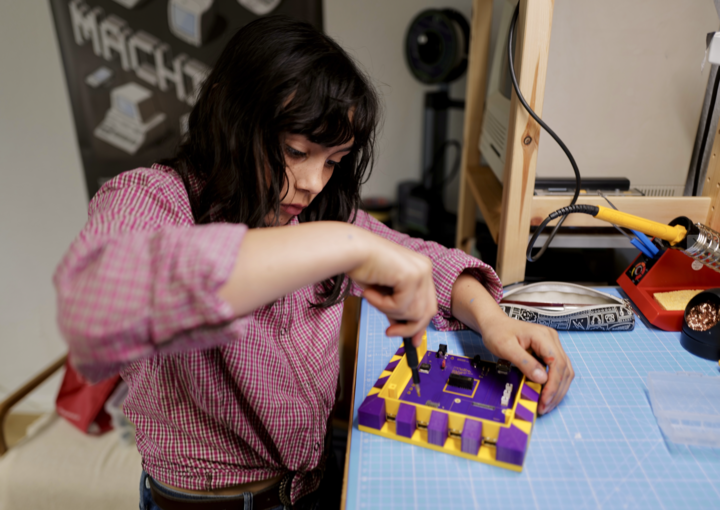
    Oh, hey, hi! I am RooK Mk3.1 – Enno and Alex discussed that I should be the one telling the story of my very first official tournament. So this is my story.

    When my creators started to discuss the idea of building me, their own gaming console, they had one thing in mind: run their annual internal retro gaming tournaments using me (or maybe another iteration of me, who knows?). And that just happened at the end of February. To quote multiple occassions and people: How the hell did they pull this off?

    The past weeks leading up to the tournament weekend flew by at warp speeds. Every evening something had to be done to prepare the team or my tech for this very special event. While this is my first official tournament, I had a “soft opening” in Cologne a few months before. But it wouldn’t be the RooK Team if things should be done differently this time, and they had a clear vision for that:

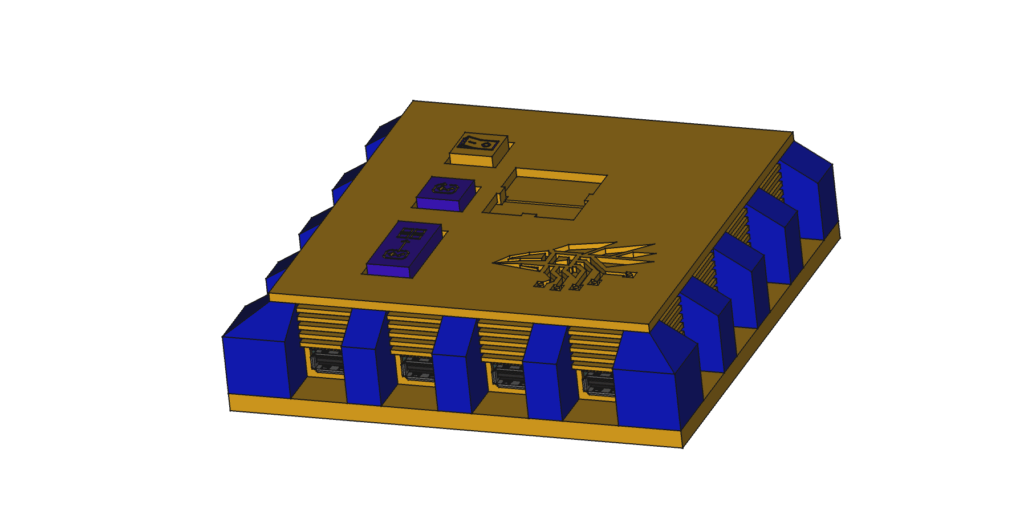
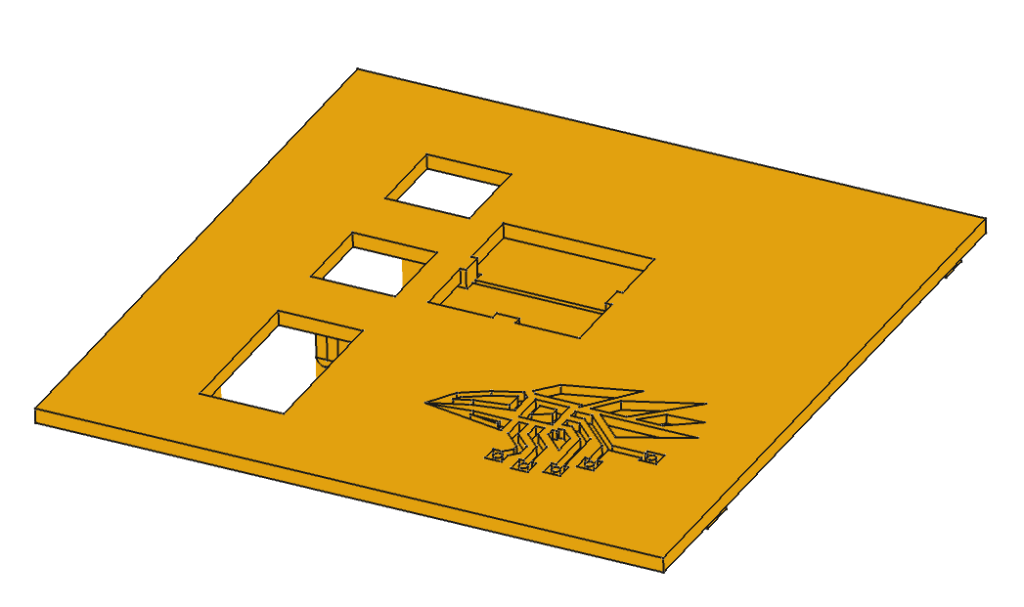
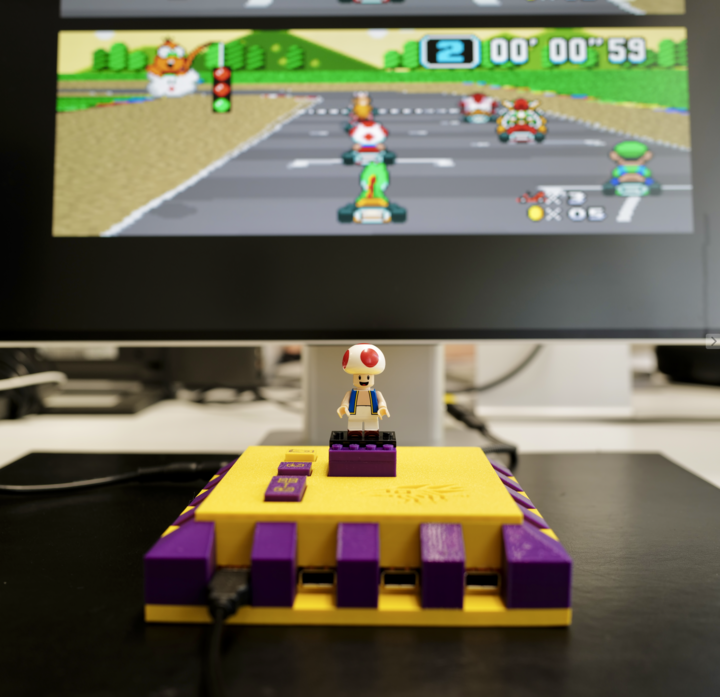
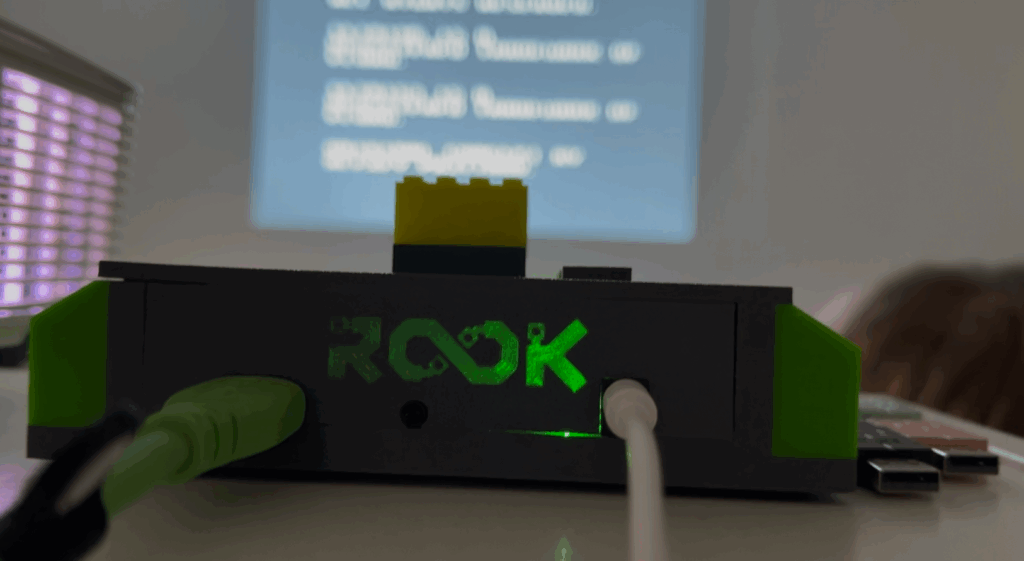
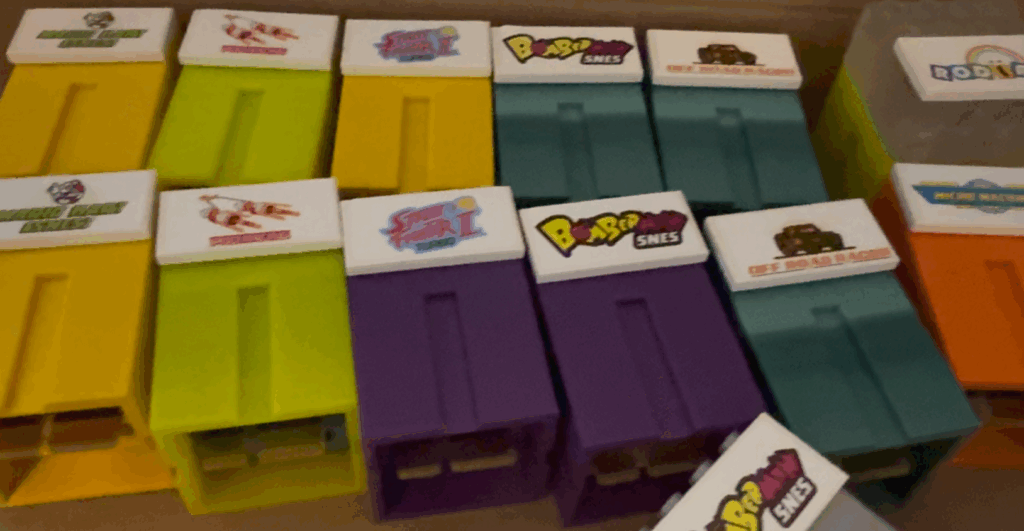
    In previous tournaments on original hardware, they set up every console to run one specific game. You have to work with what you have. But now as I’m in charge of running the games they have much more flexibility: every RooK runs every game of the tournament, so why limit every console to just one game? They already know how to build cartridges that directly launch into the game. Thanks to the CM5 (i call it “my brain”) waiting for the boot process should not be an issue.

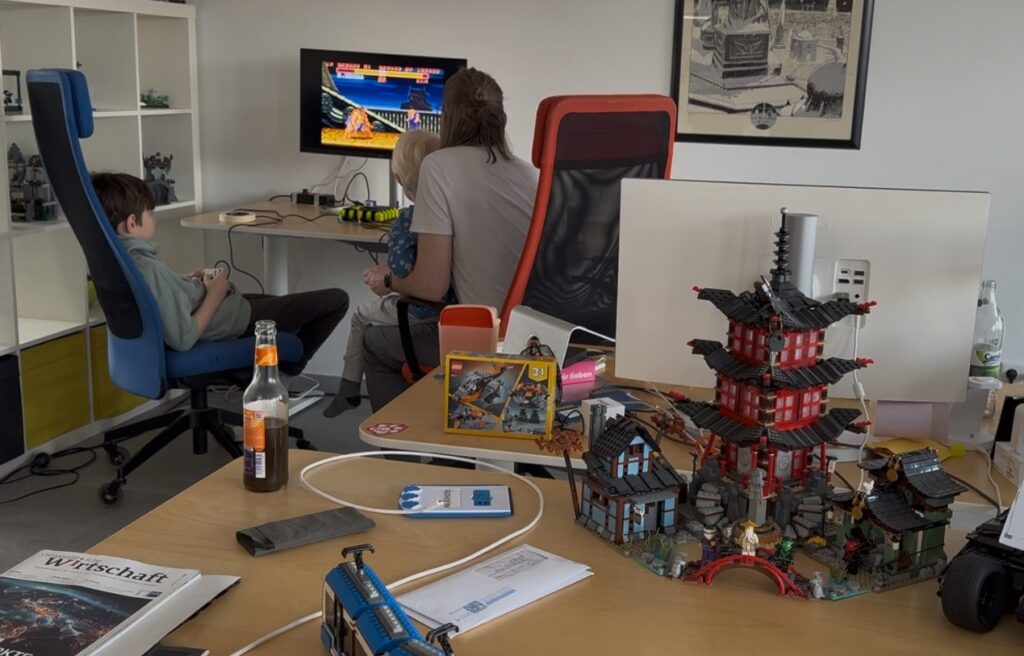
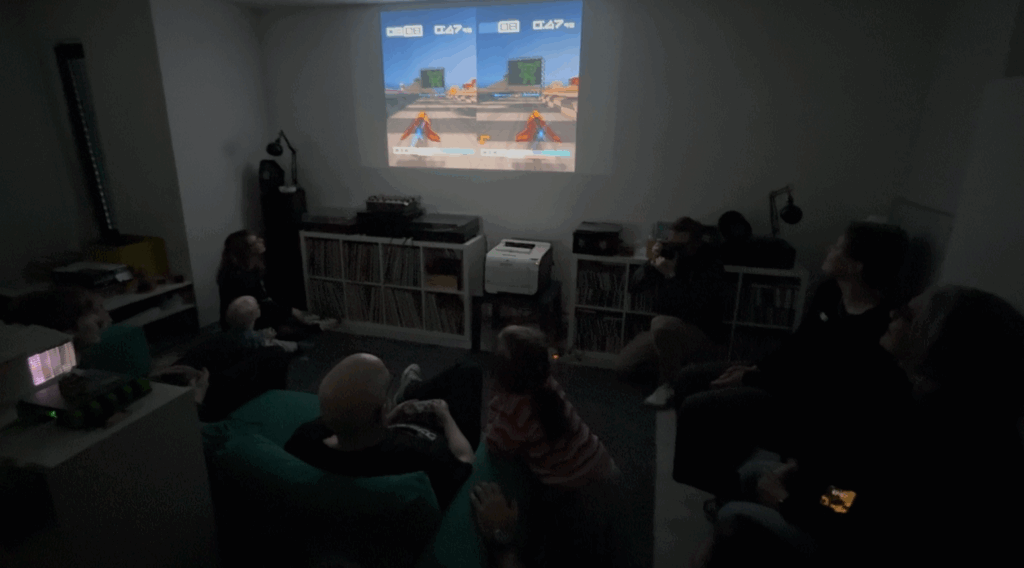
    Whenever someone had to play in the tournament against someone a specific game, the people first had to find each other. As the anticipation of this event was very high, the tournament was packed: 24 players challenged each other and roughly 15 guests attended to watch. So finding your opponent was part of that challenge.

    Then the players went to the tournament lead – another first: Arne took the reigns from Konstantin and led this tournament. Arne gave the players the cartridge with the game on and they went off and looked for an unoccupied RooK.

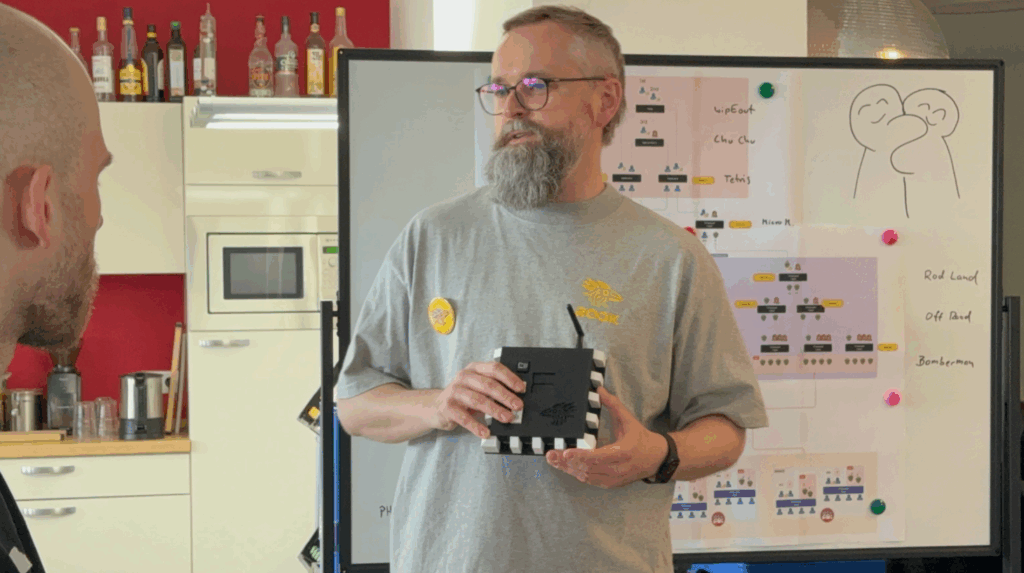
    Nobody commented on the time it took me to fire up the game. Nobody commented on the shutdown procedure as well. Of course Arne did give a small introduction about me at the start of the tournament, so everybody knew how to operate the console.

    The tournament plan Konstantin has tuned over the years is based on one principle: the first game of the tournament is crucial. It should provide an level playing field for gaming veterans and rookies alike and it needs to help divide the players into two categories. One such game is – of course – Bomberman. But not this time.

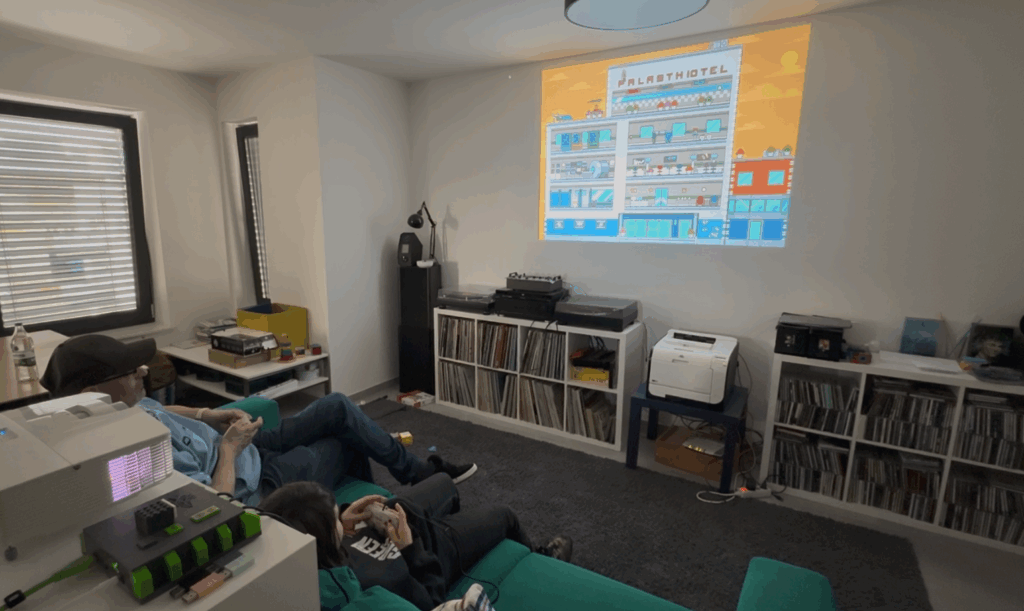
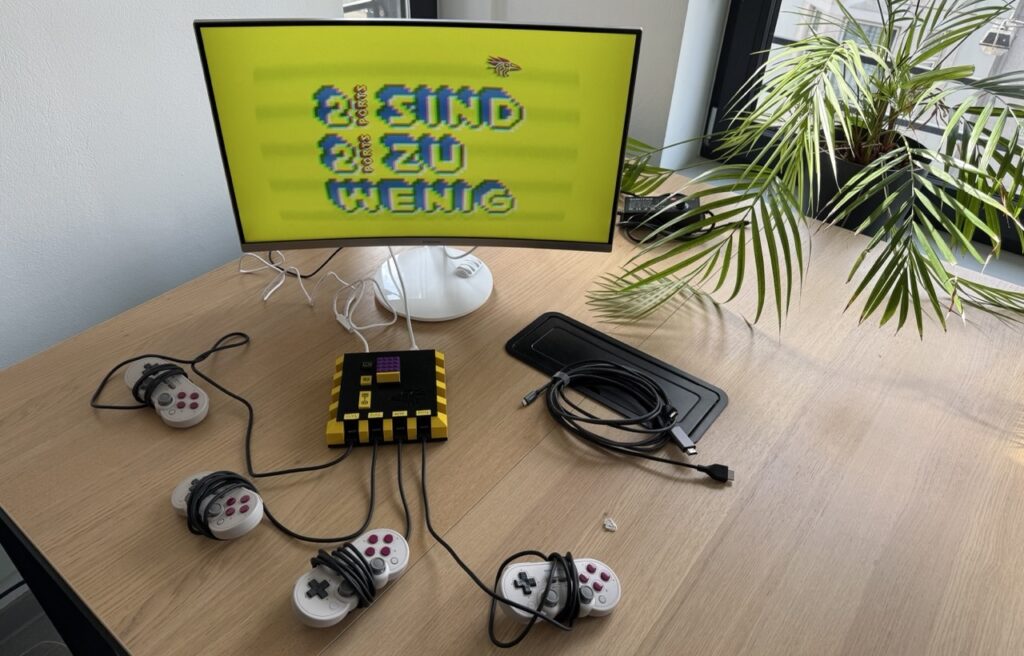
    Basti set out to build a game for me, with the tournament setup in mind. And he did deliver! In the night before the tournament the team decided that the first game of the tournament will be Phrawler – the first game made by RooKsters for RooK – for me!

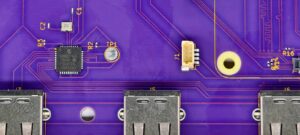
    Just when everything started to unfold they faced an issue they didn’t see coming: suddenly a few of the RooKs only accepted three of four controllers. After fiddling with controllers and RooKs for a while they could get enough of the RooKs to work with four controllers to let the tournament progress without further issues. Why do these things never happen during testing?

    As we’re discussing firsts, there were a few more. Somehow the team hat some mental load capacity left to organize accompanying program. Alex organized a “keyboard petting zoo”. A bunch of old Thinkpads with about 25 keyboards invited everyone to enjoy mechanical keyboards and keyboards with rather impressive layouts or very inventive features.

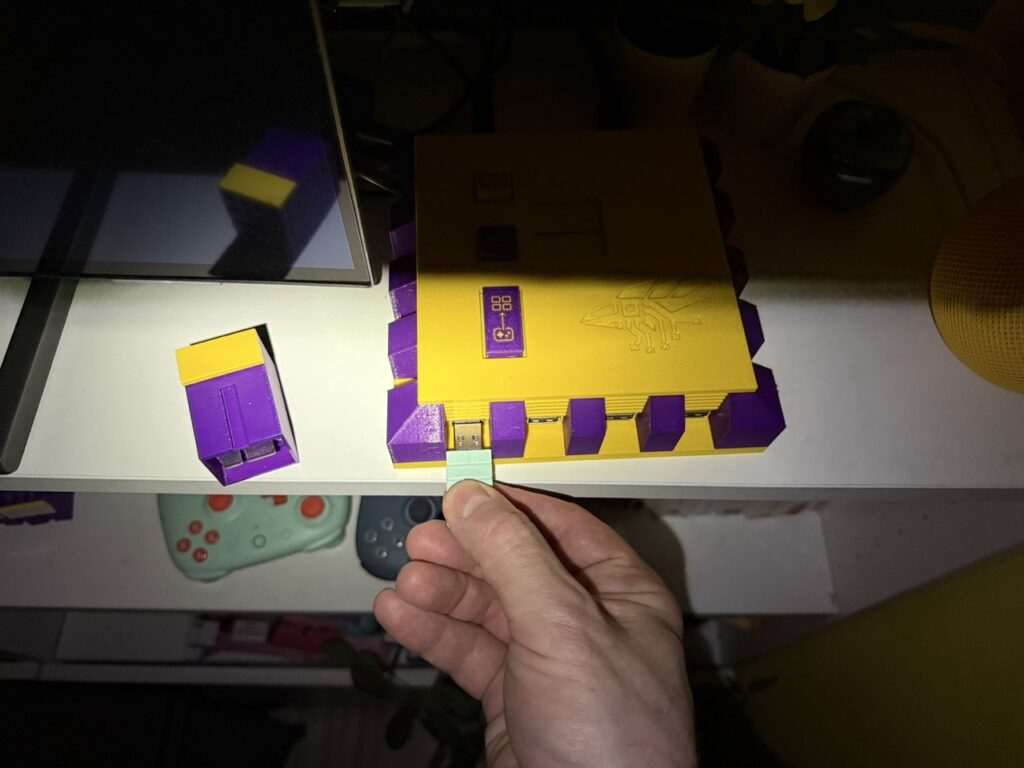
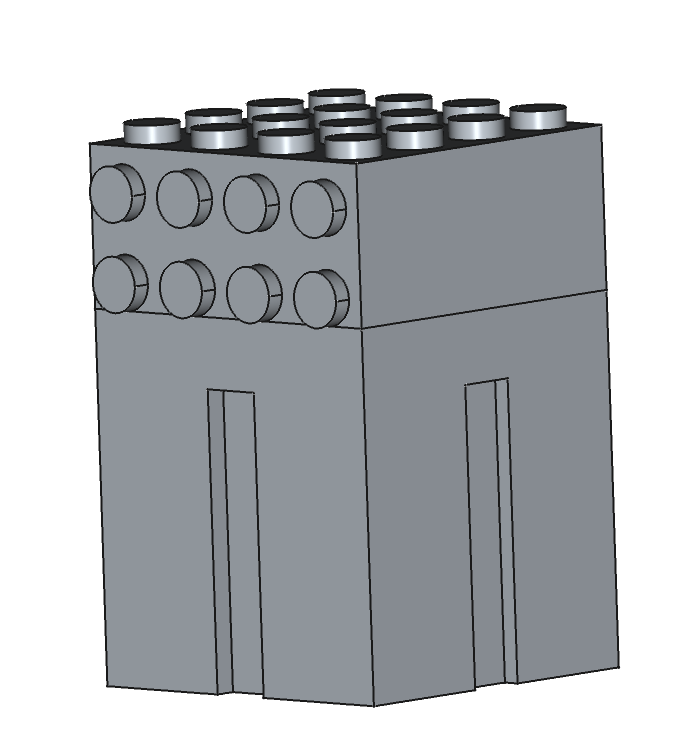
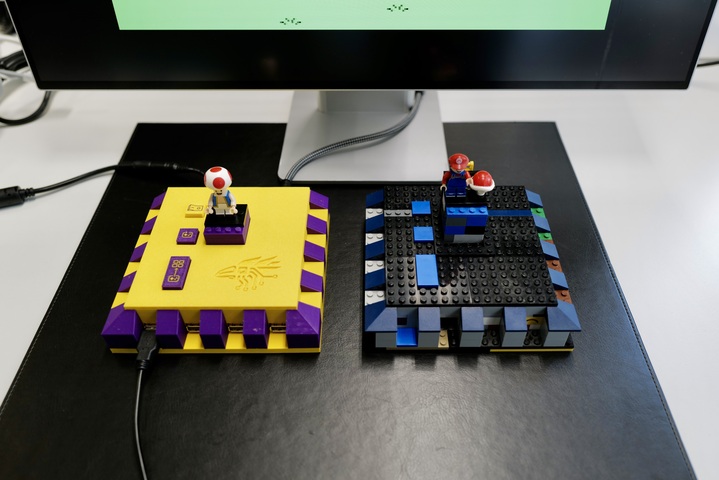
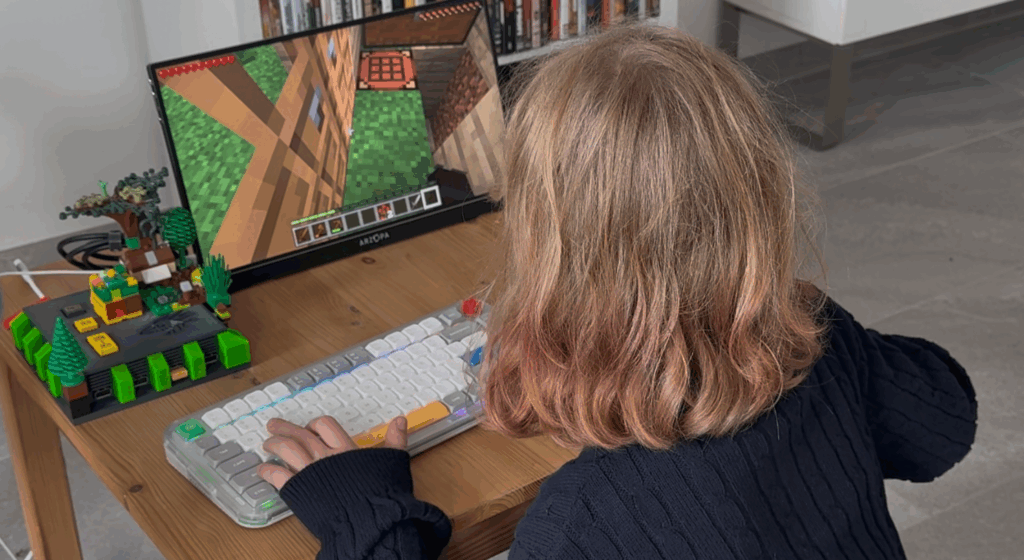
    Konstantin’s daughter used her building skills and converted one RooK into a minecraft console. This Idea got some wings and was later known as the silent place to recover and play some Minecraft (yes, I run Minecraft Bedrock) without the stress of the tournament.

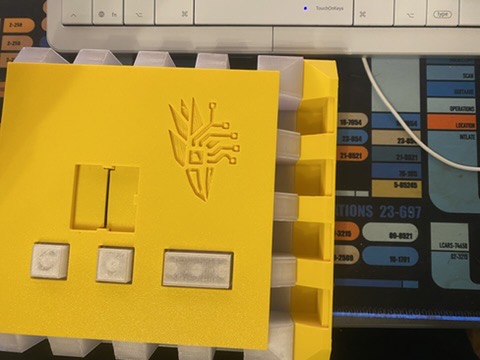
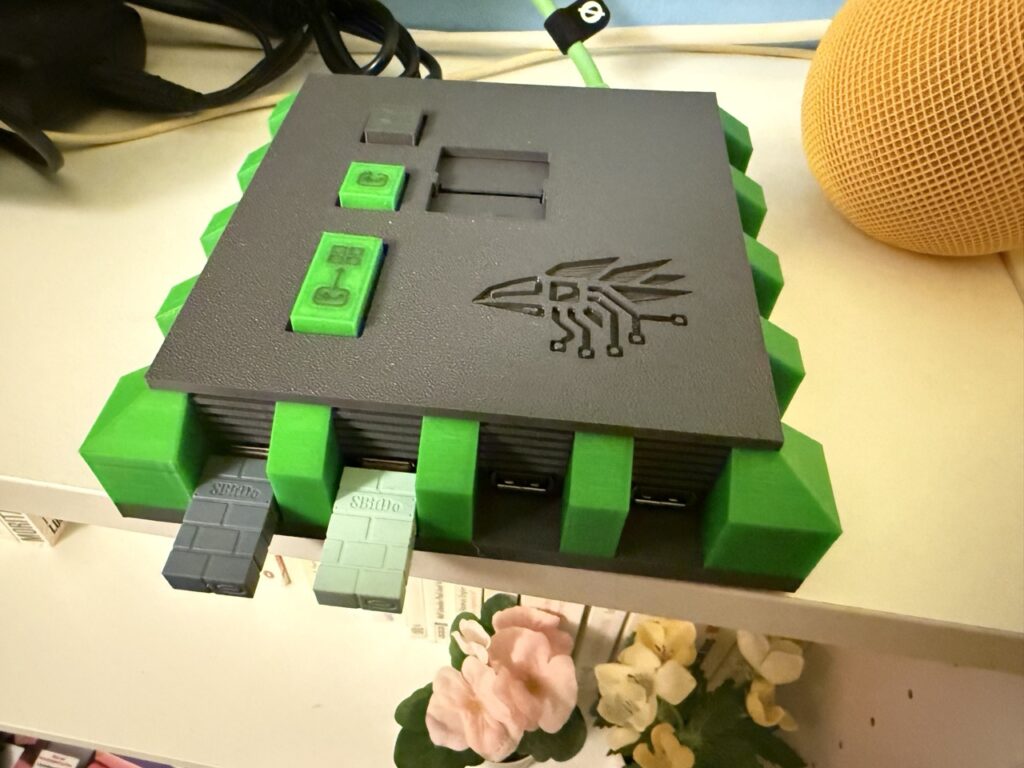
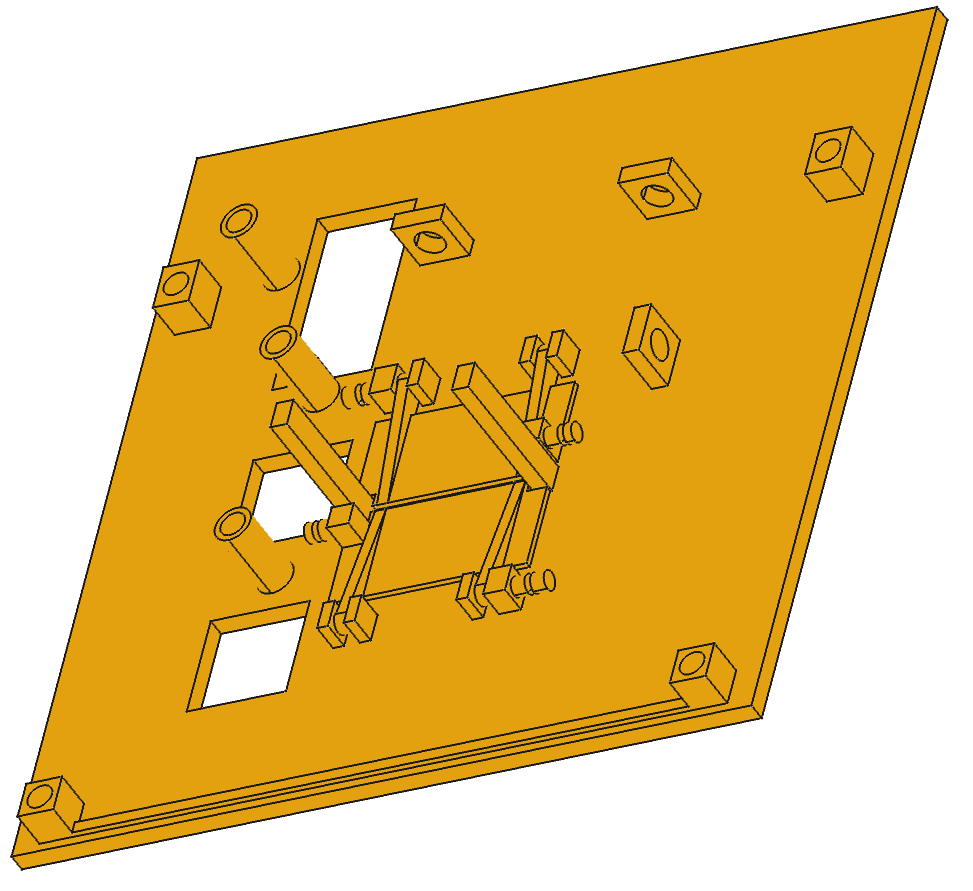
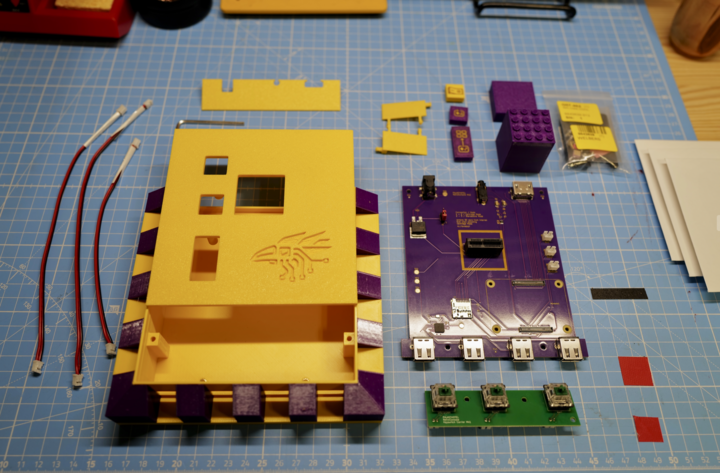
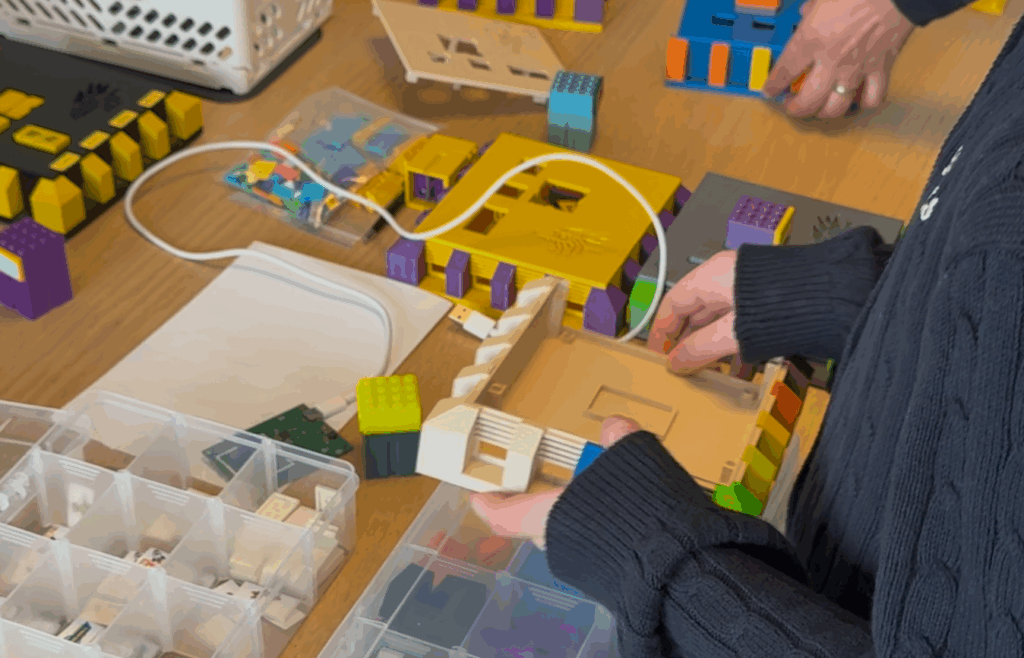
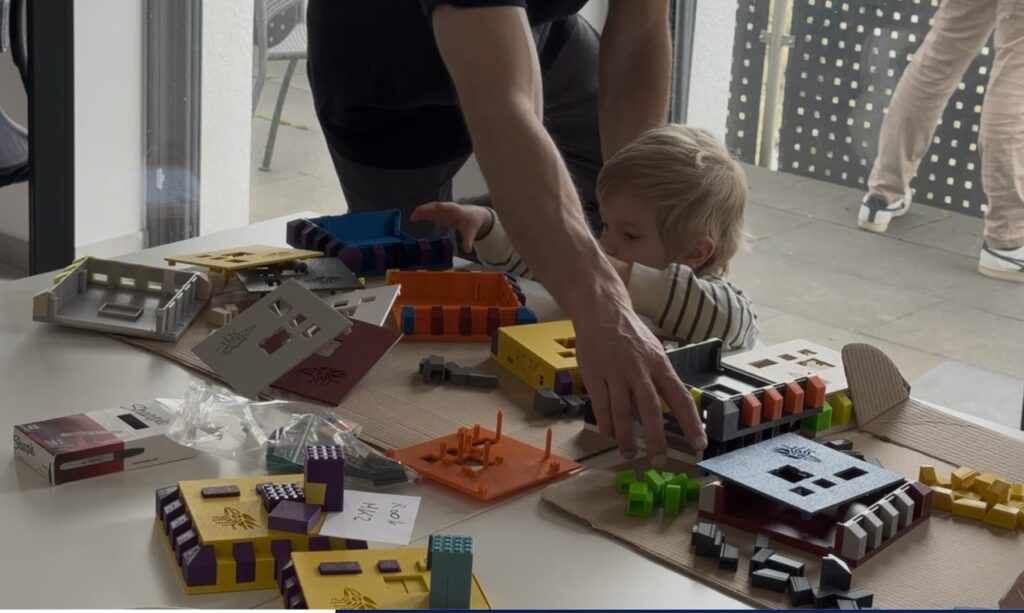
    Enno fired up the printers last minute and brought case pieces in many colours. If you wanted to see how a certain combination of case colour and pillar colour worked, you could simply build a case and have a look. This possibility was eye-opening for a few guests.

    The games leading up to the final were tense and so close, you couldn’t squeeze a piece of paper between first and second place. Still there can be only one champion, so there is only one.

    The team learned a lot on this tournament. They learned that they have to build a more robust power supply logic for the usb ports. They learned that cartridges may break. Three cartridges failed during the tournament. They still have to analyze what exactly went wrong with them. But the team has some ideas to prevent that from happening in the future already. They learned that having options for the colours is an important feature. RooK is meant to be your very personal console. The one you build yourself. You should select the colours yourself aswell.

    The team also learned, that while they’re not done yet (discussions for RooK Mk4 are done, building it is up next), I am already up for the task. It’s time to show me to people not directly connected to the team. It’s time to find out what the world thinks about RooK – about me. That part of the world, that loves gaming, of course. Oh that is so exciting!

    A new tournament lead. A new way to run the games on the consoles. A new game. A minecraft safe space. A keyboard zoo. A corner to build your own console case. How did they pull this off?

  • That escalated quickly – the story of RooK Mk3.1

    That escalated quickly – the story of RooK Mk3.1

    We are actively testing the current iteration of RooK – codename Mk3.1. Have a look at our Github repository for more technical details. What started as a minor enhancement escalated to a full-blown overhaul within a few weeks.

    Once the Mk3 mainboards were shipped from the factory we planned a small retro gaming tournament. While we prepared that tournament we had one game in mind that might have hit the limits of our current computing platform, the CM4. So we tested running RooK Mk3 with a CM5. That worked almost flawlessly. CM5 needs active cooling and we didn’t plan for that. For the tournament we choose to run the cooler at full power. While that option was great for the tournament and allowed us to use the games we wanted, it is not viable for normal play scenarios. The fan was just too loud.

    So we decided we need a minor iteration: get rid of the fallback circuits for not working cartridge slots (that problem was fixed) and add a fan header. For easier debugging, we also wanted to move the status LED to the back so it could be seen without opening the case.

    Edge Cases

    While the PCB was redesigned and ordered, the team does what it can best: re-iterate on the important things. We noticed, that wireless dongles for 8bitdo controllers were a few milimeters too wide. So we had to thin the pillars at the front.

    let: old non-dongle-compatible pillars, right: 8bitdo-approved pillars

    Addition from 8BitDo dongle user Alex:
    I have to admit, I felt REALLY guilty when I realized that the dongles didn’t fit between the columns — especially since so much care went into the symmetry and design, and the Mk3 of the RooK looked SO good.

    But then I thought, if probably the most common controller dongles don’t fit, that would be annoying for (hopefully many) future users, so I brought it up again.

    At first, we considered just relying on the Bluetooth function of the 8BitDo controllers, but the dongles are simply SO convenient — basically like an “air cable” 🙂 When they work via dongle with the Steam Deck or other devices, but you’d have to reconfigure them to Bluetooth mode just for the RooK, that would be quite a hassle. Especially since I have to google the manual every time I want to change ANYTHING on the 8BitDo — it happens so rarely! So yeah, it was important to me to shave off that half millimeter (0,02 inches) from the columns. More precisely, it was only about 0.25 mm (0,01 inch) per side 🙂

    If you hold the Mk3 and Mk3.1 right next to each other, you can see the difference if you look closely—but without direct comparison, nobody will ever notice 🙂

    Here’s another example: on the yellow Mk3 it doesn’t fit, but on the gray-green Mk3.1 the dongles slide in easily. 🙂

    And while one could simply thin those 3 pillars, the aesthetics department jumped on board and re-iterated all pillars around the RooK case. We also tried adding pillars around the back but quickly tossed that idea.

    As we put the LED in the back, we knew we would have to redesign the back panel in a way that will make the LED visible. In the final iteration we voted for clear plastic and the RooK text logo.

    So two thirds of the case main components were already redesigned at this point. And then Sebastian reiterated that we have to make cartridge insertion easier.

    Cartridge slots are harder than we thought

    Here is the problem: we have two flaps that cover the cartridge slot. those are held in place by springs. When you try to insert a cartridge, you have to push the flaps out of the way. As those are hinged its hard to keep the cartridge from tipping. It was always a bit of a struggle to get the cartridge in correctly.

    We discussed a few ideas, most of which weren’t feasible: they would increase complexity or would be hard to 3d-print. One option would work: adding rails to the left and the right (exactly where the two flaps meet). Of course that would mean adding notches to the cartridges. And the flaps would need cut-outs for the rails. Needless to say: we went ahead with this option.

    After testing the new design on a Mk3 RooK it was clear that this option would be the winner. So more components joined the “redesigned for a minor update” team.

    Once we started buiding Mk3.1, only the keys were not redesigned from the 3d-printed parts. The case itself is a complete overhaul. We are proud of the resulting console and for now it holds up quite well within the team.

  • Mk3.1: News from the Factory

    Mk3.1: News from the Factory

    We just ordered 40 new cartridge PCBs—this time as panels. Here’s how the initial estimate looked:

    On top of that, we even snagged a nice Thanksgiving discount! 🙂 I initially put in for 5 panels and configured each one with a 2×4 layout. That’s 8 PCBs per panel, making it 40 in total. During the panel design phase, the calculator flagged an error and asked for clarification. So, I confirmed again: I want 5 panels with 8 boards each. For the assembly (PCBA), I also specified 40 PCBs.

    But then, the total came to $528 for 40 panels (which would be a insane 320 PCBs!!!). That would work out to $1.65 per PCB. If it really were just 40 PCBs total, we’d be looking at $13.20 per board—at that price, we’d definitely have to skip the gold plating! But looking at the other specs (board dimensions, lead time), it really seemed like they were calculating for 40 full panels.

    So, I shot an email to my contact there (who had already reached out to say the order was under review anyway) to let them know something wasn’t right and to double-check the numbers.

    Literally a few minutes later, I got a reply: I was right. They’ll adjust the price during the final calculation.

    Alright, so now we have a solid price for the 40 cartridge boards. They swapped the “Hard Gold” finish for a “standard” one. I’m down to test it out and see how long it actually lasts. So far, I haven’t seen any real wear and tear on my current cartridges…

    Still, we definitely need to stress-test how durable these are. If we decide we really want that Hard Gold coating, we’d probably need to order around 200 PCBs to keep the price reasonable. If a panel costs $80, we should be squeezing way more than 8 PCBs out of it. But since the minimum order is 5 panels… well, that’s going to be a lot of boards.

    And finally: The cartridge PCBs arrived on Dec 23rd, and just in time for Christmas, the motherboards showed up on the 24th!

    Enno tested one right away—and it works!

    Now, the only thing left to do is rewrite the assembly guide.

  • The way to RooK drawn in the sand

    The way to RooK drawn in the sand

    When Konstantin was in Portugal this summer he channeld his inner Sir David Attenborough and gave us some insights into his thought process and how he came up with the most important concepts behind RooK.

  • Capacitors and their Form Factors

    News from the factory:

    Today I learned that not every capacitor capacity actually fits into every package size. 

    Yeah, yeah, I should’ve known.

    Physics and all that. It just totally slipped my mind.

    Anyway, on the board in question, there are some handy test pads, so I can just solder a capacitor on manually after the fact. Looking at the console’s mainboard, it looks like two capacitors might be affected there too…

    I’d better double-check that 😄 and tweak the design if needed.

  • What we learned so far designing a Retro Gaming Console

    It is astonishing what you can learn if you take on a project like this. Things you never thought of 🙂

    • 3D Design
    • PCB Design
    • Ordering “Batch Size 1” PCBs from China
    • The Customs Call: Making sure they know you aren’t building long-range missiles.
    • Power Routing on PCBs: Managing power traces effectively.
    • Design Rule: Never route Ground (GND) under an SD card reader.
    • Calculating Springs with ChatGPT: (And actually ordering them).
    • Hardware Bugfixing
    • Capacitors and their Form Factors
  • RooK’s design story

    RooK’s design story

    It all started when Enno wanted to learn how to source fully assembled PCBs. He already used the software kicad.org to design them but had never ordered one. He wanted to learn this because it would give him a much larger inventory of chips for his own projects. The only problem: he lacked a concrete project. So, like any good engineer, he went looking for a problem to solve with his newfound knowledge.

    And then it so happened that Konstantin hosted a second retro gaming tournament and came away from it with two concrete feedbacks: the humming of the old devices is exhausting, and the loading times are annoying. Even if his museum pieces exert a special fascination on the kids. (more on that below) Clearly, the magic of blowing into a cartridge and waiting an eternity for the game to load was lost on the younger generation.

    Then it was suggested that we could make our own console. In that conversation, the idea emerged that one could make several console designs and that anyone who wanted to could make their own console design. Because why settle for one iconic design when you can have a dozen?

    RooK’s First Design

    We found the idea charming to retain the retro gaming character – even in the external design. Because if it doesn’t look like it came straight out of 1989, are you really retro gaming?

    We could go crazy and design and print a separate console case for each system! Meaning: For PS2 games, a PS2 case that incorporates and reproduces the console’s design. Then each station directly makes it clear what’s being played here. Imagine a whole wall of custom-designed, 3D-printed consoles, each a tribute to a different era. The ultimate “museum” of gaming, right in your living room.

    A special appeal of the tournaments is being able to see and use the old consoles. There’s just something about holding a piece of history in your hands, even if that history sometimes emitted a high-pitched whine.

    Konstantin’s first sketches were driven by the idea: Only use rectangles and circles! If the BRICK idea began with the cartridges, why not apply the BRICK concept to the entire device as a design framework? Because who hasn’t dreamed of building their own console out of BRICK?

    So, there were first some rough sketches for PS1, PS2, N64, Xbox, and SNES as you see in the article image above.

    Then Konstantin began designing a console with BRICK (!!!)

    And as always with BRICK, the ratio was:

    • 2% planning
    • 6% building
    • 92% searching for bricks

    But the result was impressive, and the form factor was born. It’s also funny that a USB-A plug fits exactly into the gap of 2 BRICK studs. Almost like it was meant to be.

    So Enno had both a 3D model of the case to build a board that could be ordered from China.

    The circle of life for a DIY console:

    • ideas
    • design
    • build
    • source
    • repeat

  • Why are retro games great for kids?

    Why are retro games great for kids?

    We love gaming with our kids.

    Because:
    Time spent together playing is not screen time, it’s quality time! Just like in the old days when multiplayer meant huddling around a single TV, rather than shouting at each other through headsets.

    Retro games are so well suited for this because they are easy to play but hard to master. It’s much easier for kids to spend 60 or 70 tries beating a level boss, and then eventually turn off the console because a) it’s exhausting and challenging, and b) it’s still fun and fulfilling to do hard things. 

    Remember that feeling of finally beating Mike Tyson in Punch-Out!!? Pure, unadulterated triumph.

    In contrast, modern games are designed to constantly draw us in with continuous dopamine kicks, dedicating our attention to the game instead of Netflix, TikTok, or our family. They’re like digital sugar rushes – thrilling in the moment, but leaving you with a crash. Retro games are more like a slow-cooked meal; satisfying and wholesome.

    As nerdy parents, we want to enable our kids to game, but also protect them from hyper-stimulating games. When you observe your children playing Super Mario or Tetris compared to modern Switch games, we’ve consistently found that older games evoke just as much fascination but have much less addictive potential. Kids can regulate themselves much better with older games that have less overstimulation. Plus, no microtransactions or loot boxes trying to raid your piggy bank.

    We also wanted to make it possible to save only a single game per cartridge if needed – similar to a Tonie-Box or a Jookie for audio plays or music – but just for gaming. Sure, a cartridge could contain hundreds of games, but that would helplessly overwhelm and overstimulate our children. Imagine telling a kid they have 500 NES games on one cartridge – they’d probably just default to Mario, because choice paralysis is real, even for tiny humans.

    But:

    It is also a great experience for kids to BUILD RooK!

  • What’s inside the RooK Console? (TBC)

    What’s inside the RooK Console? (TBC)

    Almost all components are self-designed – right down to the carrier board, the cartridge reader, and the case.

    Pop in a Raspberry Pi Compute Module, and you’re good to go. With a Pi 5 CM, RooK can even play up to PlayStation 2 games. But let’s be real, the really old games are what truly matter to us. We’re talking about games where a single pixel could define an entire character, and joypads had fewer buttons than a modern car’s dashboard.

    And there’s more:
    You can design and print your own RooK case, making it truly yours.

    Because what’s cooler than beating your high score? Beating it on a console YOU designed. Take that, Nintendo Labo!

    The image shows what a RooK Mk3 looks like before it is assembled

  • How RooK got its name

    There were a LOT of ideas for names 🙂

    PHART – Palasthotel Advanced Retro Terminal

    RAVEN – Retrogames augmenting virtualized emulation node

    HAWK – Hyper Advanced Working Konsole

    RooK – “Retro infinity Konsole” mit nem infinity symbol statt o’s (ist eine Vogelart)

    The cute yellow box

    Retrotel

    H.Y.B.R.I.S – Hotel’s Yellow Box for Retro Interaction Sessions

    Das gelbe Schloss

    C.Y.P.H.E.R – Cute Yellow PalastHotel Emulator for Retro

    Cake Lifter

    N.T.

    GameCastle

    Nest

    NTN-NEST

    Das Retropalästchen

    The little Gamulator

    das zackige Ding

    Deckard